Maytag MFR washers with inverter drive have been around for the better part of 20 years as of the writing of this article. If you have recently taken over a store or laundry room with this type of equipment in it they are generally great machines, but like all mechanical things you need to replace a part once in awhile. Do any of your machines have buttons that are missing or loose? Here is how you can fix them:
Unscrew the black Maytag name plate on the outside of the machine (the one with al of the printing on it. You should then see this:

Open up the top of the washer and move any plastic sheet covers to get at the board to remove several screws. There are a bunch and they are small so having a magnetized screwdriver will help save the frustration of screws falling down inside the machine:
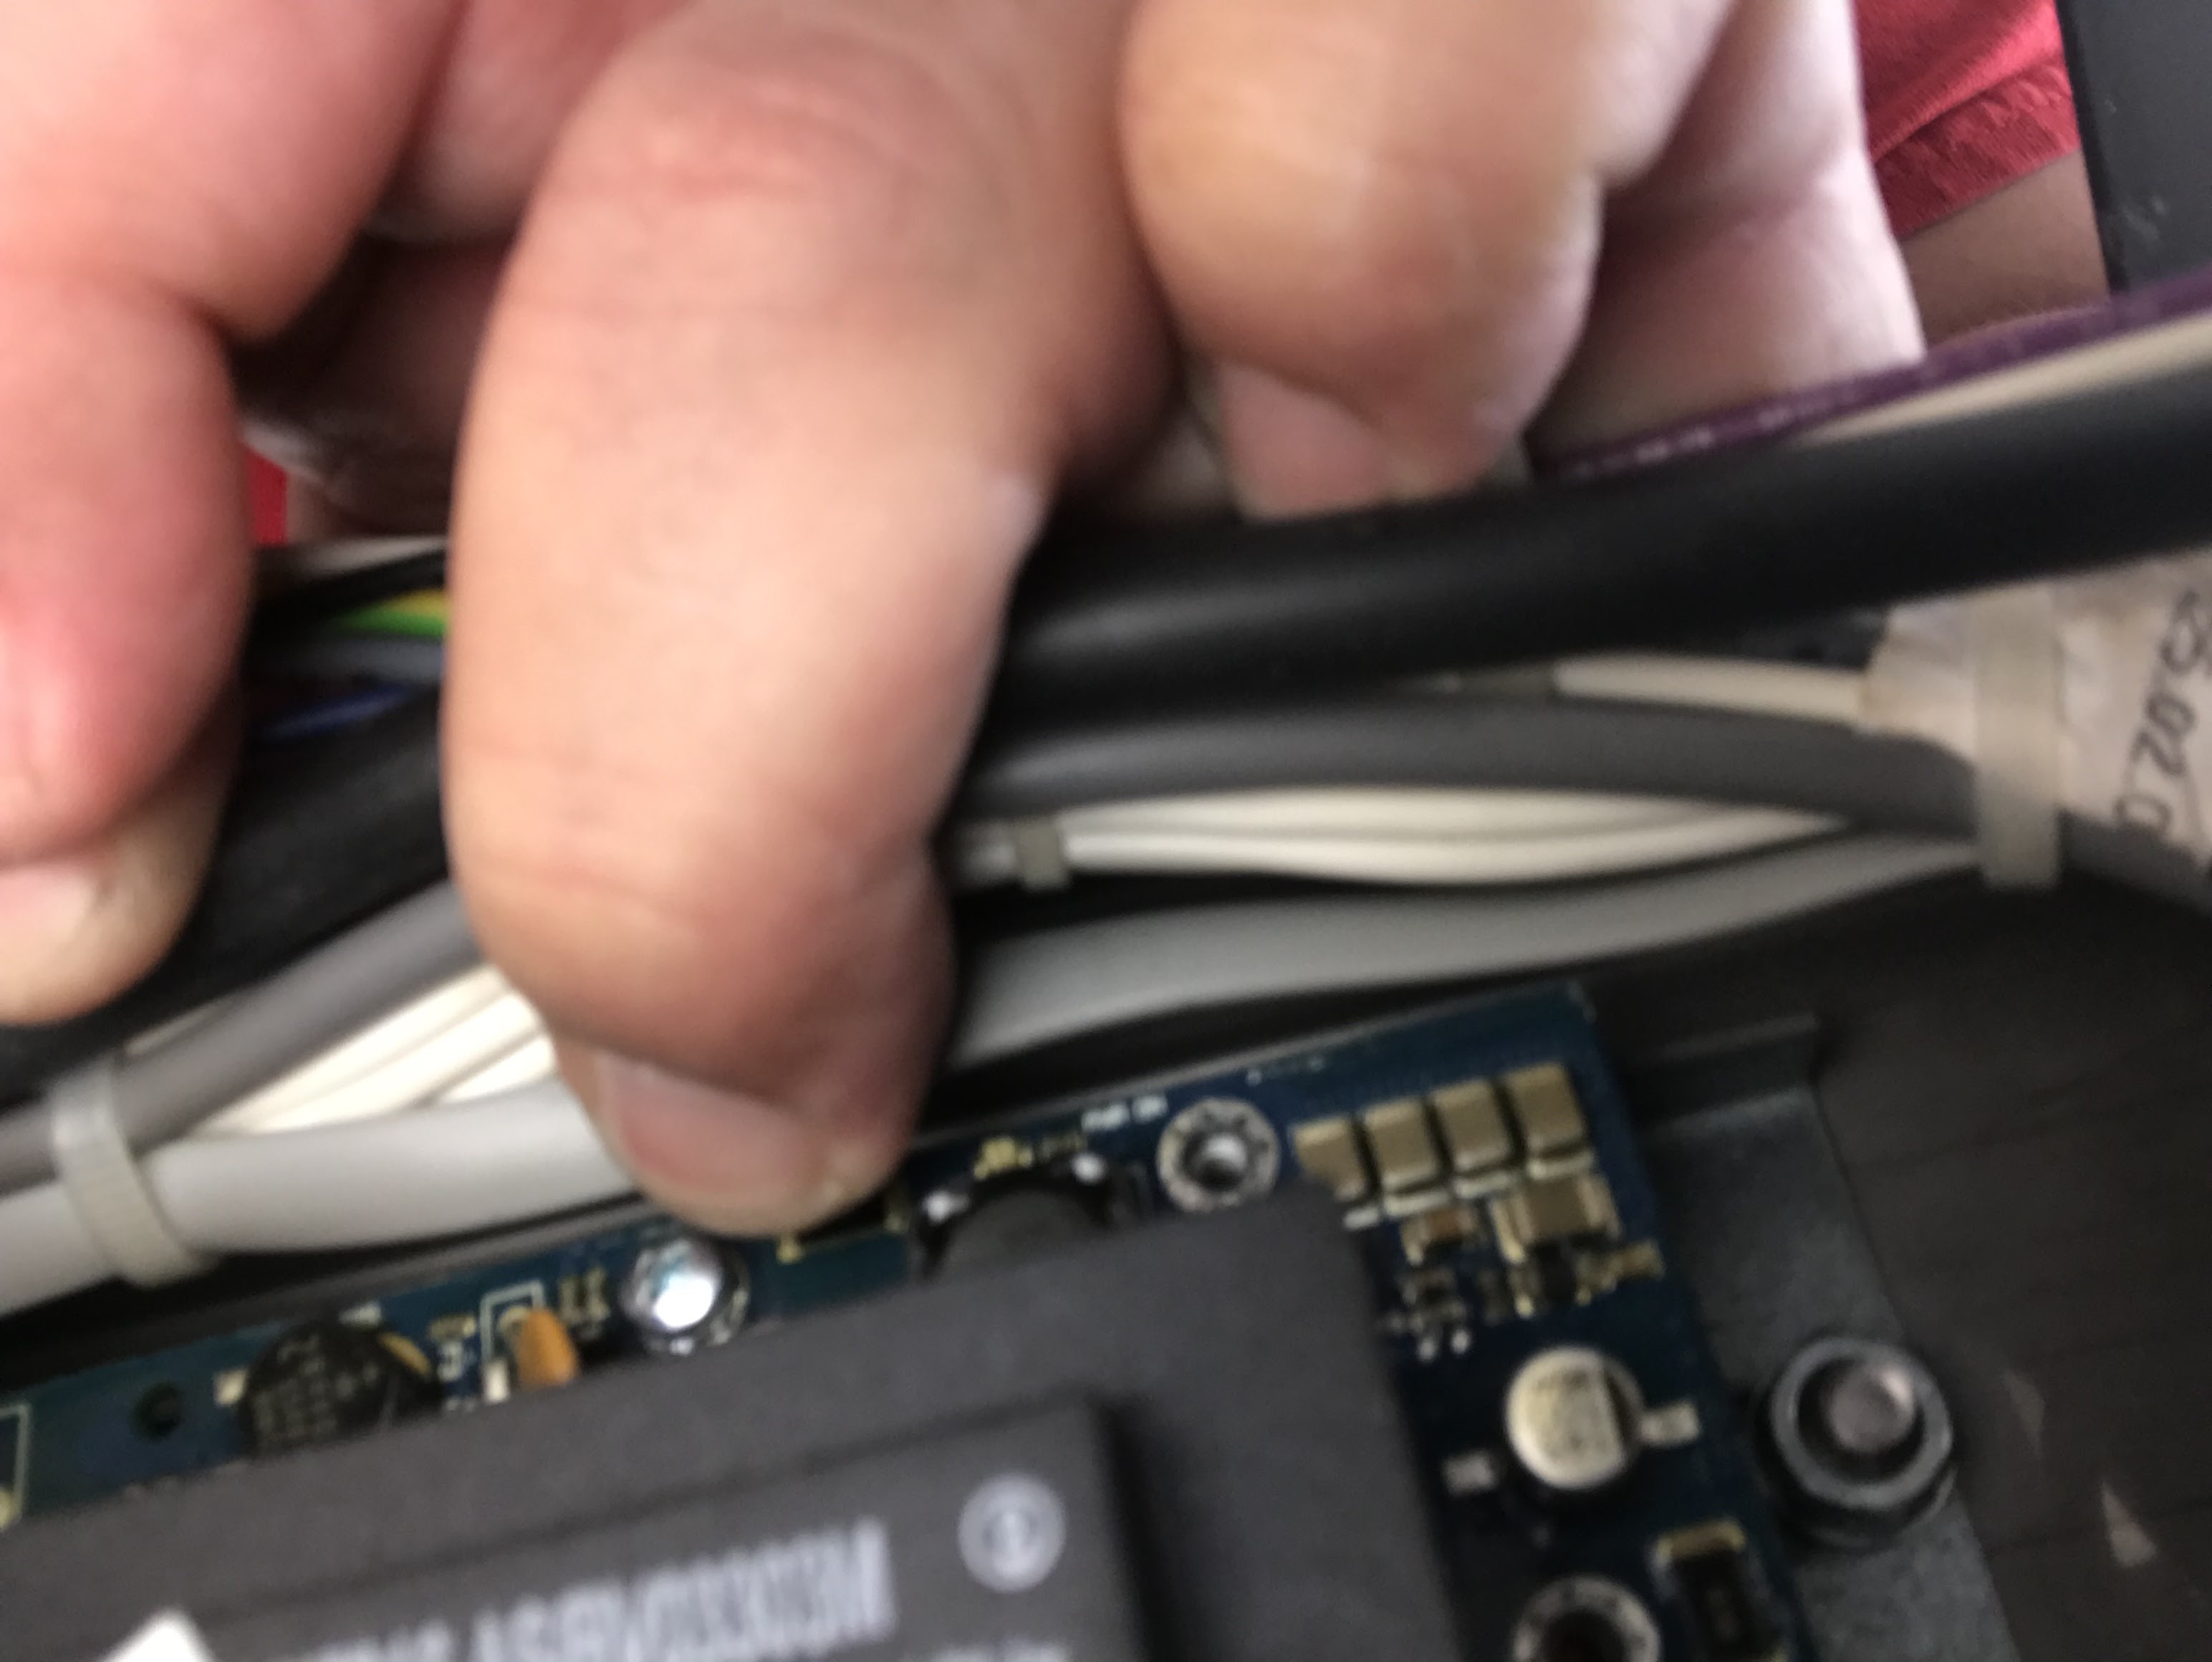


You don't need to disconnect the board or any wires. Leave the board inside the machine. Just leave it leaning back and you will see two nuts from the screws in the front face plate.

Remove the screws from the front of the washer that hold the button plate on.
You might have to hold the nuts inside the machine to get the screws to come out.

The front button plate and membrane should now be loose.

Disconnect the ribbon wire at the bottom of the control board and the button plate and membrane should be loose.

Pull out the plate.

To replace the buttons use a flat head screwdriver to move the tabs connecting the buttons to the membrane and plate. Usually you only have to do this to the tab on one side and the set of three buttons and any debris should come right off.

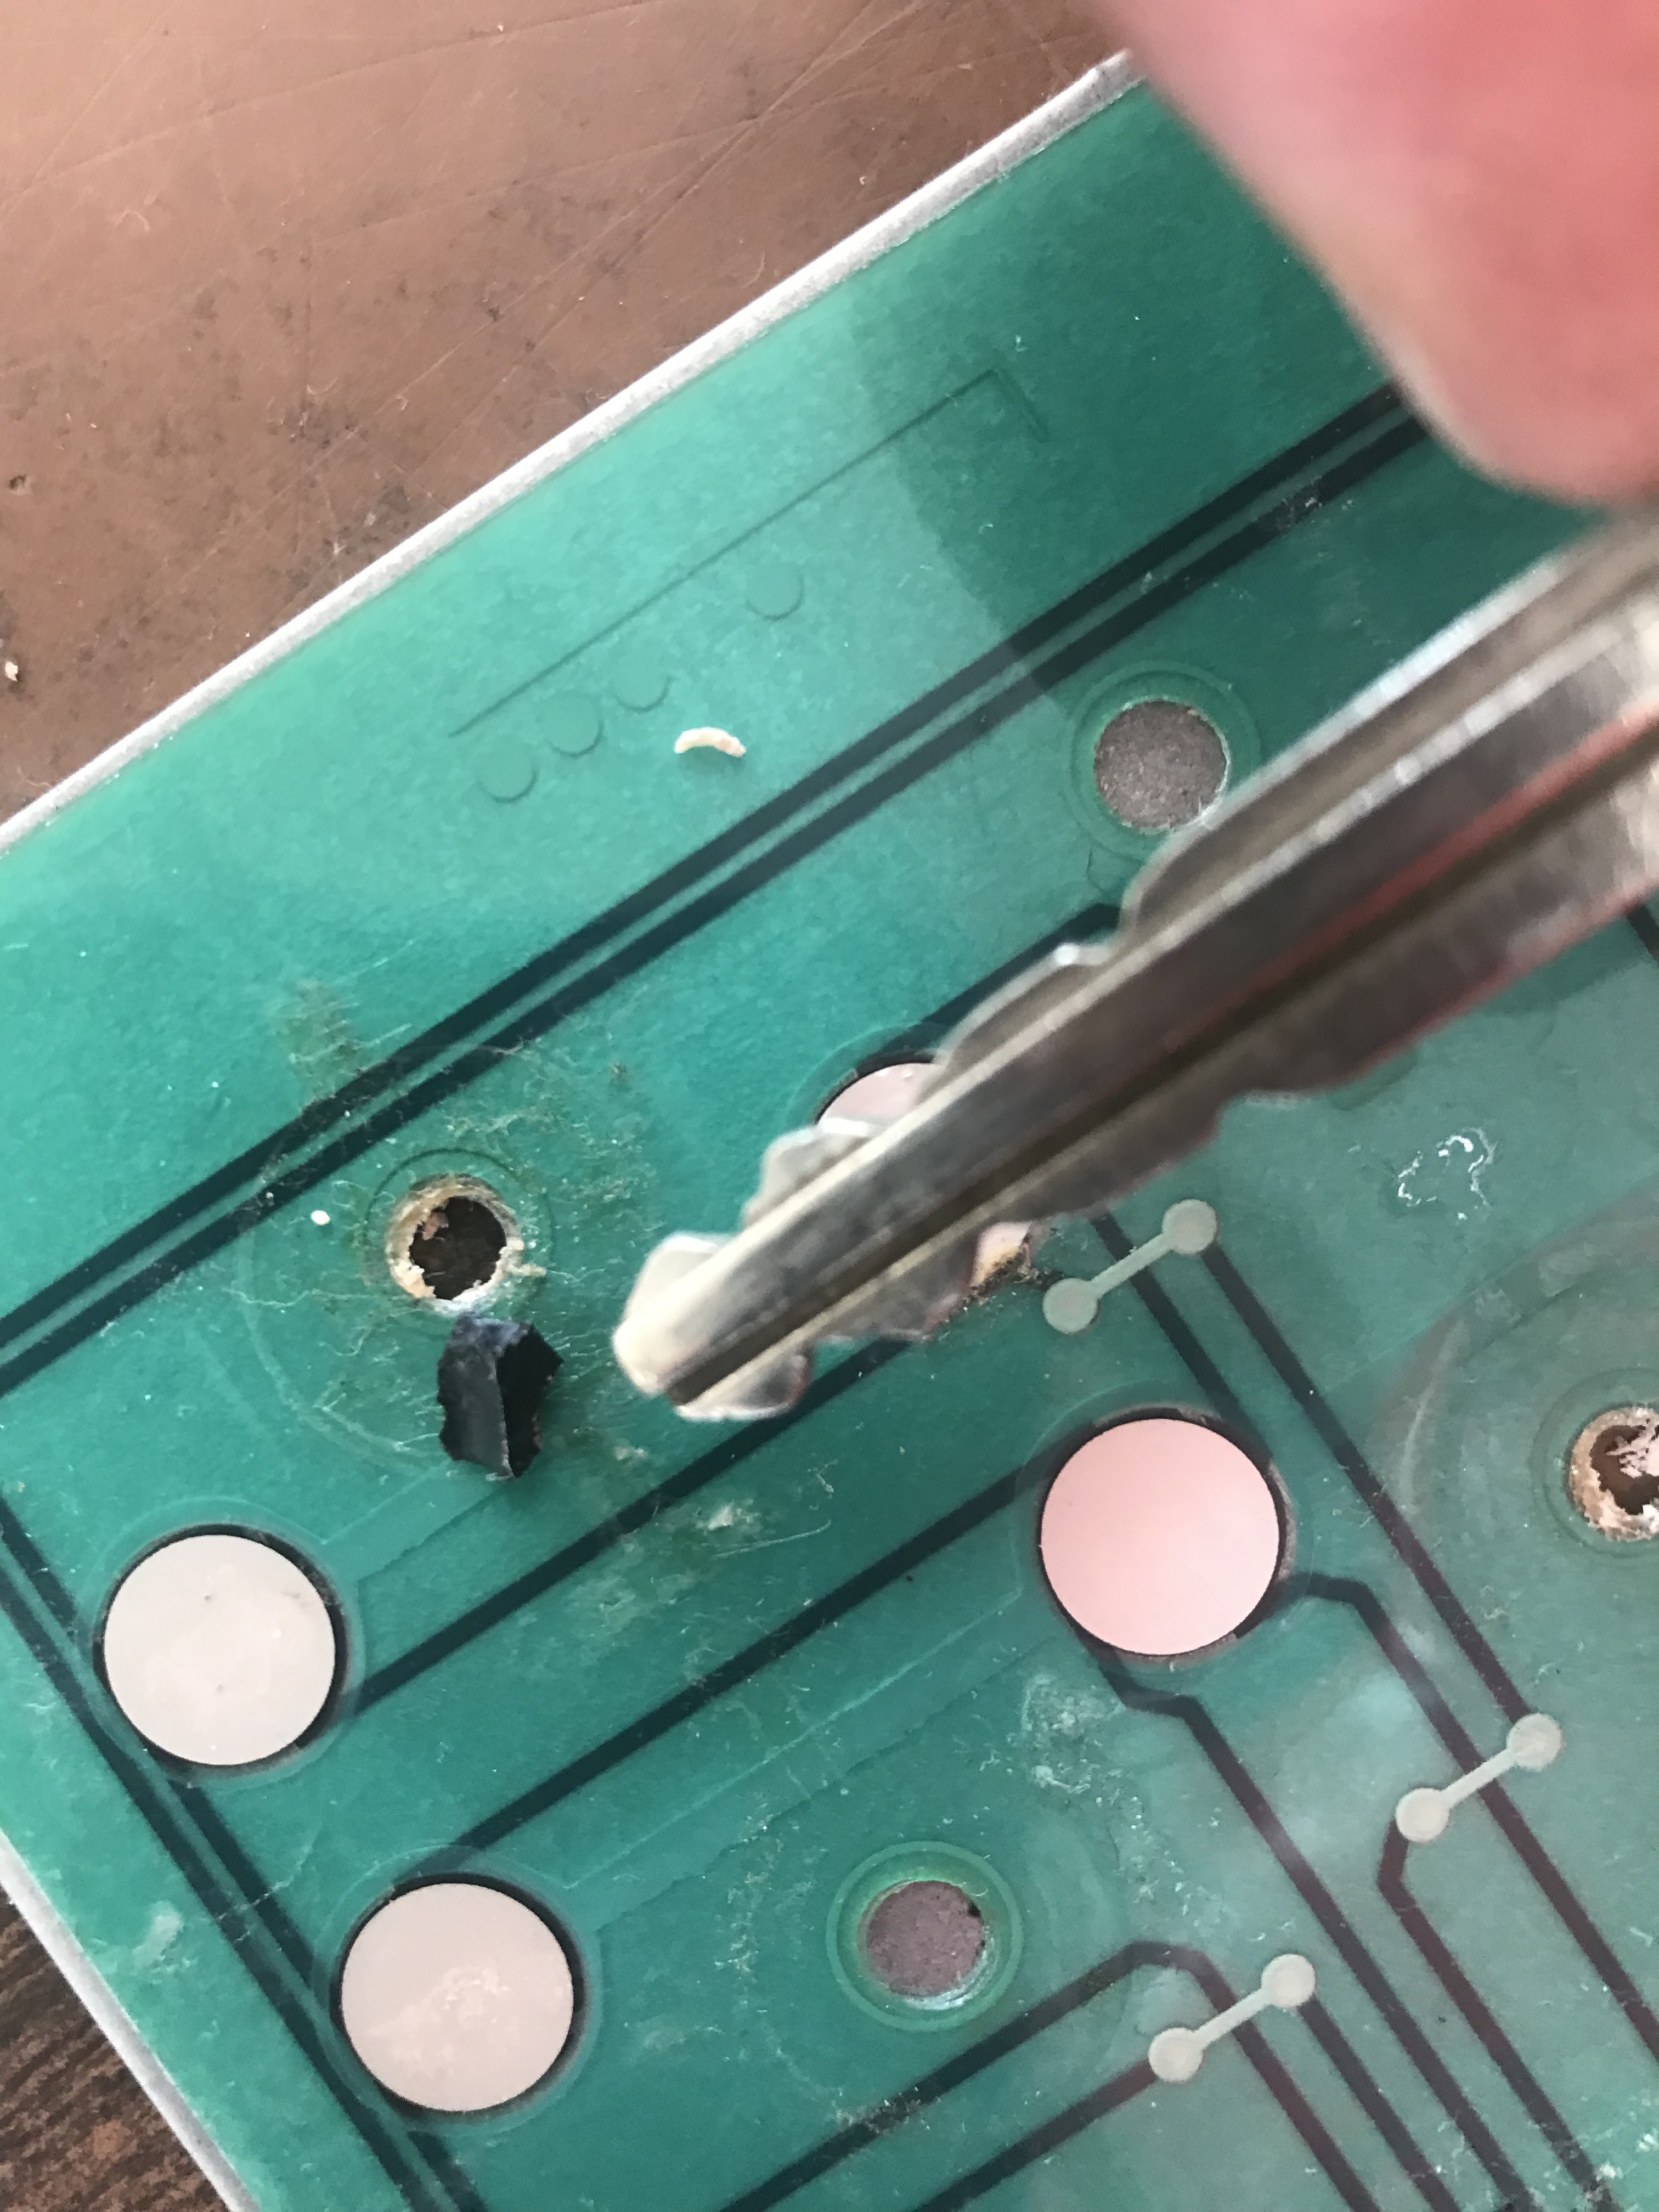
Remove any debris that is sticking to the button membrane.
Very important! Check the membrane in the circles for dents and holes. The buttons shouldn't do this, but when a button falls off customers poke keys and fingers inside to hit the silver circle. IF you see holes or heavy indentation change out the membrane too because odds are you'll change out the buttons and that one button won't work because that circle is broken.

To put buttons back on, hook the peg on one side of the buttons into the notch on the plate and position the rest of the buttons so the locking tab is in the notch on the opposite side and press down.

To put the buttons back on reverse the process above.
Clean the plastic lens and the button plate so they are nice and clean.
Clean the plastic lens and the button plate so they are nice and clean.


Test all of the buttons by running various test cycles or selecting different options to make sure all of the buttons are working. Then screw the front faceplate back on. You are done!

Ev
A Heck of A Nice Guy
A Heck of A Nice Guy
No comments:
Post a Comment
Note: Only a member of this blog may post a comment.